Configure GIT on Linux/Windows
Automation is the wave of the future. It allows for efficiency - reducing errors that can occur during manual executions of tasks. As a DBA, automation is a big part of my daily routine. Without automation, I wouldn't be able to accomplish a lot of the 24/7 monitoring and database administration tasks that keep the database tuned and chugging along without issues.
Since I accomplish automation using scripts that are scheduled to run and business requirements, SLAs, and data changes occur frequently - I tend to have multiple versions of all my scripts. As a best practice, I always take a backup before making any changes, that is especially true for the many iterations of my scripts. It becomes tedious renaming and saving each version of my scripts for easy rollback. To help take some of that extra work out of the equation, I leverage Git as a version control system for my scripts.
When you're new to Git, it can seem a bit intimidating, so I will walk through how to configure Git on Linux and some of the most commonly used commands.
You can access the scripts for configuring Git from my public Git repository:
To install Git on Linux, you will need the link to clone the repository to a local directory.
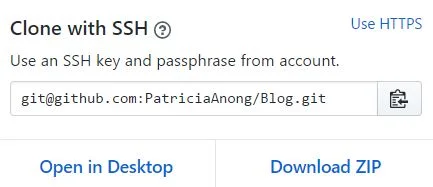
Connect to your Github account online and copy the link for SSH access, cloning with HTTPS will require a username and password each time.
On the terminal, install git using yum
Verify the installation
Clone the repository
cd to the directory you want to set up
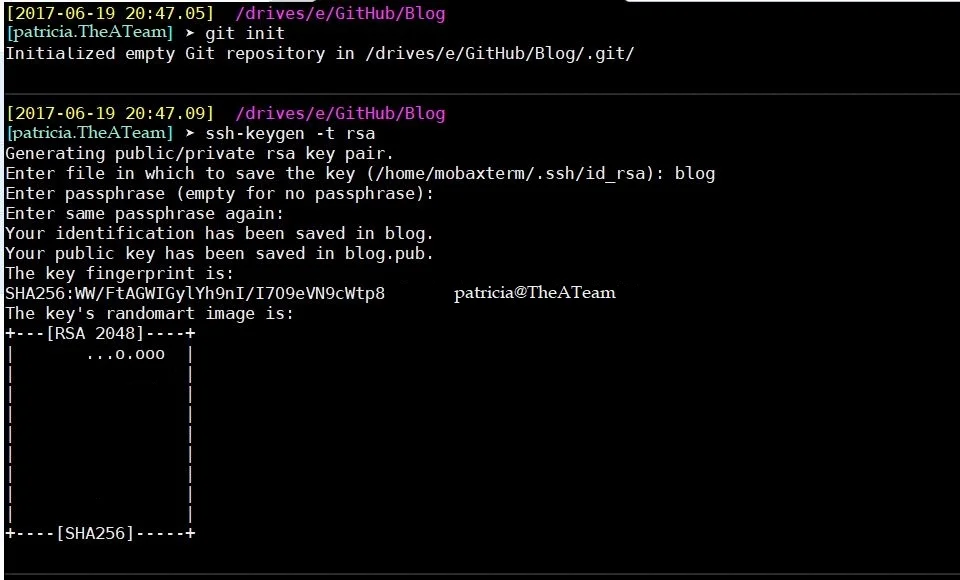
Initialize git directory
Create SSH key for GIT
Copy the ssh key
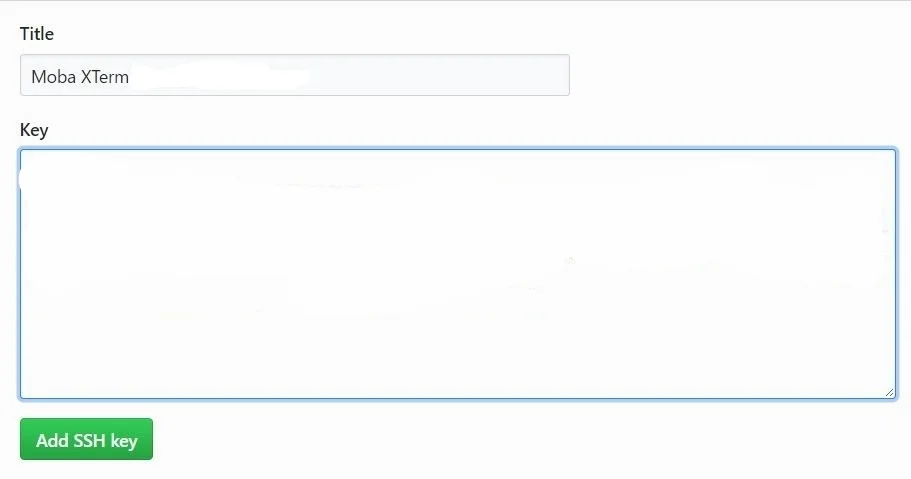
Add the key to GitHub
Profile > Settings> SSH and GPG Keys
Give it a title, paste the copied key > Add SSH key
On the terminal, configure the initialized repository:
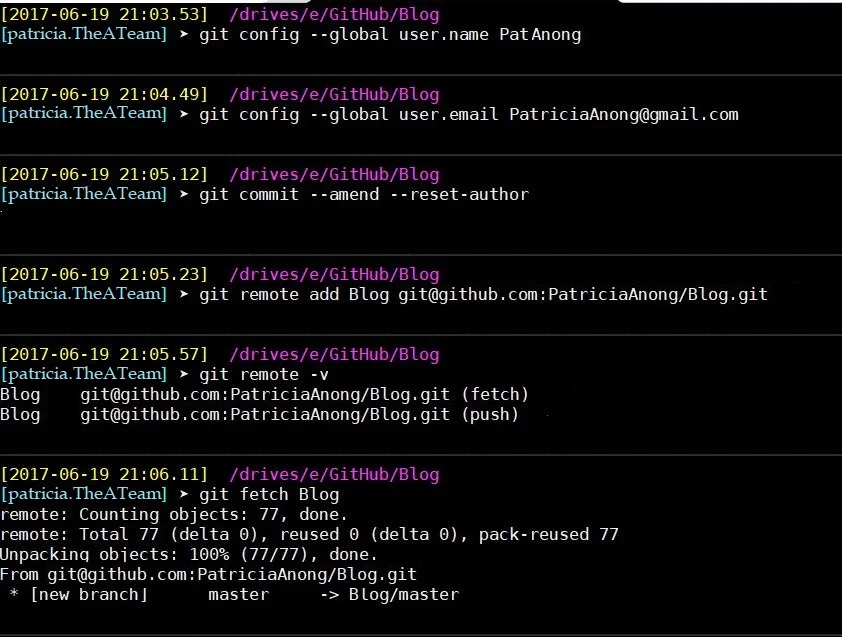
Configure your Git username and email
Commit the user name changes
Add remote Repository
Verify the remote repository was added
Clone the branches from the online repository locally
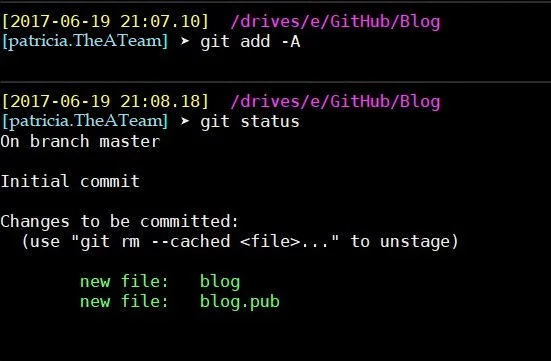
Add the files in the directory on your local server
Pull any current commits from the remote repository (if applicable)

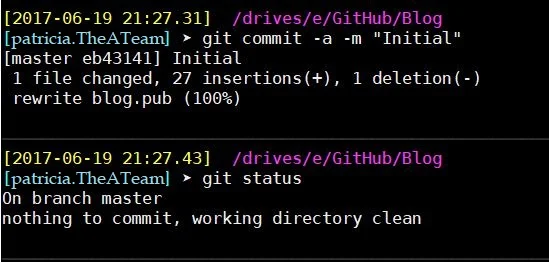
Commit the changes
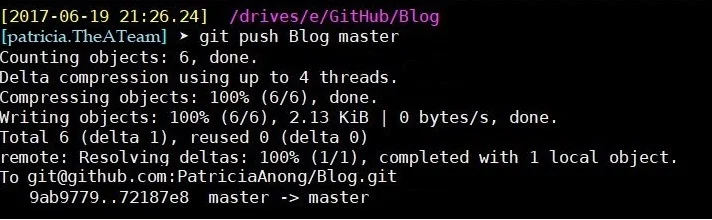
Push your local updates
Confirm all updates committed
As you create new files and modify existing files in that directory, you run the git add, git commit, and git push to save the changes to the repository. You can also create new branches while making changes, this is especially useful in a team setting such as multiple developers working on a project.
Note: In the case of multiple users merging changes to the master branch, it can be beneficial to use the git log command e.g. git log -p -2 --after="2017-07-02" (This will show the commits made after July 2nd and shows the diffs between the files, this is useful if you want a quick view into the changes made). The git show command is also very useful to view any changes between the previously committed files and the current version e.g. git show [branch] will show you the changes made in the script and the commit message.
I leverage MobaXterm on my windows machines to mimic a Linux environment - it is similar to using Cygwin - so the process above will be similar for Windows environments, except for one step. To install git, you would download the git package using MobApt package manager or you could download the latest Git for Windows installer.
You can read the docs for Git for more use cases and commands.
*Cover Images from git-scm.com